Sunday, April 8, 2012
Everybody's Fool Animated Tutorial
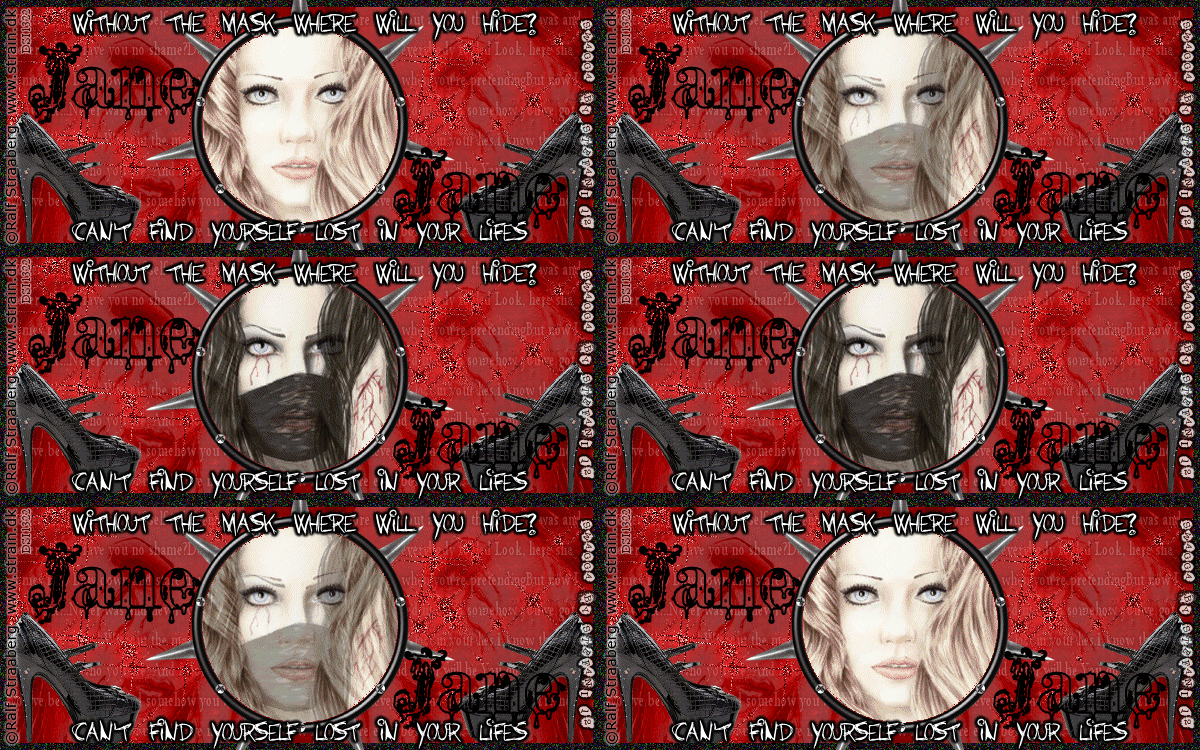
Tutorial written by ©Stephanie Spriggs aka Stefani for use on http://swaggabystefani.blogspot.com. Any similarity to another tutorial is purely coincidental and unintentional. Please do NOT claim as your own. My tutorials are for personal use only, please do not use them for monetary gain. If you wish to share my tutorial please contact me at swaggabystefani@gmail.com first to obtain permission.
Supplies Needed
For this tutorial you will need 3 tubes. The tubes I am using are all by Ralf Straaberg. For the animation I am using “Priceless Piece of Art” and “Masked Pain”. For the background I will be using “Selling The Drama” Available at Dreamscape Imaging
FTU “School Of Rock” colab kit, We will be using Abstracts part. Available for download here
Font used is “Barbies Jalous Sisters” available at dafont.com
Animation Shop
We will start with the main banner. First open a canvas of 600x250.
Open p03 from the papers.
Copy > Paste as New Layer in the 600x250 canvas
Now we are going to take “Selling The Drama”
Copy > Paste As New Layer
Resize to 400x167
Place on left side making sure the top of her head meets the top of the banner
Duplicate > Mirror
Change blend mode to luminance at 25% for both
Now take the overlay I provided
Paste as new layer
Open RedSparkles
Copy > Paste as New Layer
Go back to the main layer
Select all > Selections > Modify> Select Selection Border
Using the following settings
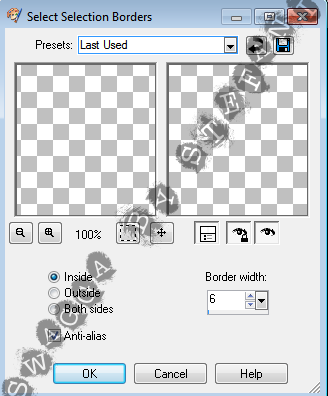
Next make new raster layer
Flood fill black
Select none
Open BlackShoe
Resize by 50%
Move to lower left hand corner
Duplicate > Mirror
Now open frame1
Copy > Paste as new layer
Resize by 58%
Make sure frame is centered
Add your text
Add your credits
Add name
Now we are going to start the morphing animation.
Open “Masked Pain” and “Priceless Piece Of Art”
Now we are going to Paste as New Layer “Masked Pain” over “Priceless Piece Of Art”
Lower the opacity to 50% so you can match the tubes up properly.
Now we are going to crop out the parts we don’t need.
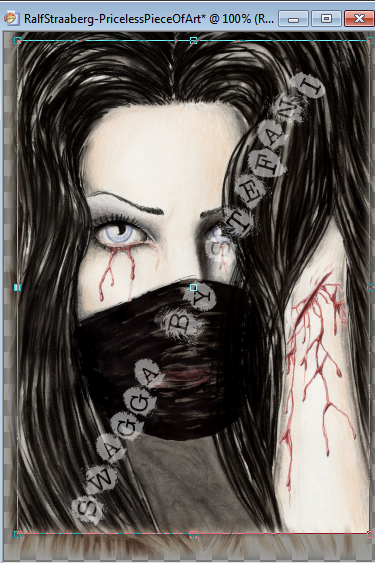
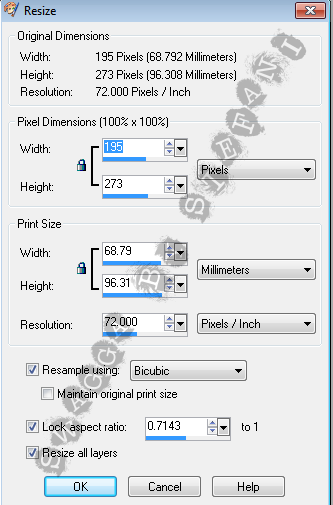
Use the following setting to resize
Now we want the dark haired girl to be the end of the animation so we will start with her on top. We are going to copy merged with her on top at 100% opacity.
You will do this in 10% increments until the top girl is at 0%
When you paste them into the banner they should go straight to the middle. All you have to do is make sure the frame is over them all.
Now we select the inside of the frame
This is what you should have. However, I havent added my text, credits, or name yet.
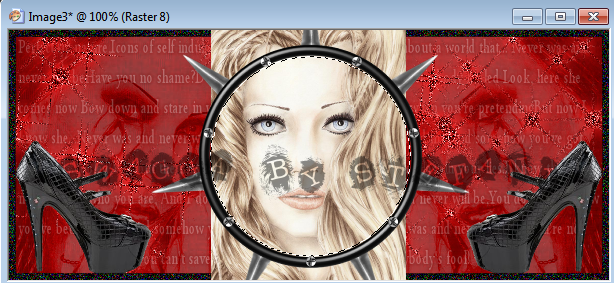
Now you are going to invert > delete for each tube layer of the morph
So you should end up with this
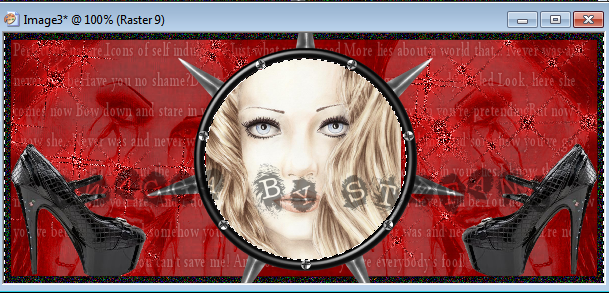
Select None
Now for animating.
Open AS
Starting with the top tube layer copy merged > paste as new animation
Close off top layer Copy Merged > Paste After Current Frame
Do this until all frames are pasted.
Remember to close off each frame as you do it!
One you have all frames posted Edit > Select All
Duplicate Selected
Go back and Select the 2nd set of frames (from the blonde girl to the end)
Animation > Reverse Frames
Animation > Frame Properties
Change to 20
View animation to make sure its how you want it.
I hope you enjoyed my tutorial!
Subscribe to:
Post Comments (Atom)


0 comments:
Post a Comment
[center]http://i214.photobucket.com/albums/cc93/karramel07/PP%20Challenges%20and%20Prezzies/bloglayout9signature.png[/center]