


Wednesday, April 18, 2012
Now selling at 2 stores!!
I am VERY excited to announce that I am now selling at not 1 but 2 stores!!
WhisprdDesignz and The Scrappers Den!
Both are having a designer call so check out the banners below for more info!!


WhisprdDesignz and The Scrappers Den!
Both are having a designer call so check out the banners below for more info!!
WhisprdDesignz^
Monday, April 16, 2012
First PTU Kit is now for sale!!
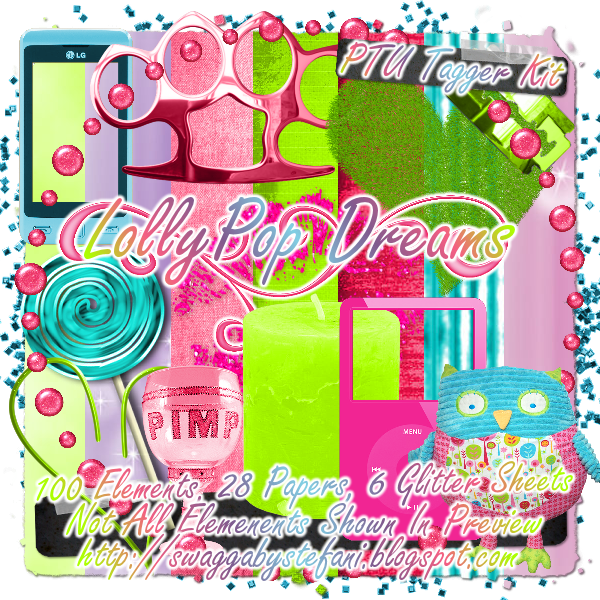
I will now be selling kits!! I am so happy and it's happening so fast!! I have my first kit "LollyPop Dreams" for sale at Whisprd Designz and more to come. Click the preview to head over and buy it!!
Friday, April 13, 2012
First Tag With My FTU Kit!!

Here is a tag made using my FTU mini kit. Thank you Shelli I think you did an amazing job!!
I can't wait to see what else everyone comes up with! I am very happy to see my mini kit is usable!!
PTU Rock The Nite Simple Tut

Tutorial written by ©Stephanie Spriggs aka Stefani for use on http://swaggabystefani.blogspot.com. Any similarity to another tutorial is purely coincidental and unintentional. Please do NOT claim as your own. My tutorials are for personal use only, please do not use them for monetary gain. If you wish to share my tutorial please contact me at swaggabystefani@gmail.com first to obtain permission.
Supplies Needed
Annaica’s Place PTU Rock The Nite Kit
Font used is “Nervous” available at dafont.com
Noise
Gradient Glow
This is going to be a real simple but super cute tutorial.
First we are going to open AP_RocktheNiteELEMENT53.
Next we are going to open AP_RocktheNiteELEMENT46 and AP_RocktheNiteELEMENT47.
Copy and Paste both as new layers onto AP_RocktheNiteELEMENT53.
Place both in front of the frame
Next select the inside of the frame > invert
Click on AP_RocktheNiteElement46 and erase her left leg
It should look like this

Keep the inside of the frame selected.
Open Paper 6
Copy > Paste As New Layer
Delete
Adjust > Add/Remove Noise > Add Noise with following settings

Now open AP_RocktheNiteELEMENT1
Copy > Paste As New Layer
Add Noise with following settings

Duplicate
Place one at the top part behind the frame
Use the duplicate to cover the bottom part.
Add your credits
Add Name
Add Gradient Glow with following settings

Resize entire image to
500x636
Hope you enjoyed!!
Preview of First PTU Scrapkit!!
I would like to present to you a preview of my first PTU Scrap Kit
I was inspired by LadyMishka's PFD Prepaid Lollypop
 .
.

I was inspired by LadyMishka's PFD Prepaid Lollypop
.As of right now I am not selling at any stores but have applied. If any of you know of any doing designer calls please let me know! I can't wait to start selling my kits!! I hope you enjoy the preview. Keep an eye out because I will update as soon as it's available for purchase!
Thursday, April 12, 2012
You don't wanna miss this!
Click the tab above that to take you to Lady Mishka PSP Tubes to Purchase The Following


All grabbags are available in CU and PU. Please make sure when purchasing you purchase the correct one for your intended use of the elements.
Lady Mishka also has 2 new tubes available on her new site


And lets not forget about her prepaid project!! What a beauty! I can't wait to see her finished!

Lady Mishka is still selling at PFD as well so make sure to stop by there and check her stuff out. She also has a new Prepaid Project there
So make sure you stop by and check out her work. Once again the tabs at the top will take you to her new store AND her PFD page =D
Tuesday, April 10, 2012
FTU "Girls Do It Better"
I have FINALLY made my first kit. This is a mini kit including 6 papers and 15 elements. I made it for a contest at The Emo Chicks PSP. I am offering it as a FTU kit here on my blog. I hope everyone enjoys. Please remember if you use my work in tutorials that you email me at swaggabystefani@gmail.com first to obtain permission. This goes for groups as well. If you want to use my kit in a challenge please email me to obtain permission. Anyways off to the good stuff! Click the preview to download.
Just an FYI if you are simply snagging without intent to tut my kit or use it as a challenge you do NOT have to ask permission. Just simply leave a nice little thank you, snagged, or anything to let me know you downloaded. If in the future you decide you want to use it in a tut or challenge then you WILL need to obtain permission. I hope this all makes sense. =/

Just an FYI if you are simply snagging without intent to tut my kit or use it as a challenge you do NOT have to ask permission. Just simply leave a nice little thank you, snagged, or anything to let me know you downloaded. If in the future you decide you want to use it in a tut or challenge then you WILL need to obtain permission. I hope this all makes sense. =/
Sunday, April 8, 2012
Everybody's Fool Animated Tutorial

Tutorial written by ©Stephanie Spriggs aka Stefani for use on http://swaggabystefani.blogspot.com. Any similarity to another tutorial is purely coincidental and unintentional. Please do NOT claim as your own. My tutorials are for personal use only, please do not use them for monetary gain. If you wish to share my tutorial please contact me at swaggabystefani@gmail.com first to obtain permission.
Supplies Needed
For this tutorial you will need 3 tubes. The tubes I am using are all by Ralf Straaberg. For the animation I am using “Priceless Piece of Art” and “Masked Pain”. For the background I will be using “Selling The Drama” Available at Dreamscape Imaging
FTU “School Of Rock” colab kit, We will be using Abstracts part. Available for download here
Font used is “Barbies Jalous Sisters” available at dafont.com
Animation Shop
We will start with the main banner. First open a canvas of 600x250.
Open p03 from the papers.
Copy > Paste as New Layer in the 600x250 canvas
Now we are going to take “Selling The Drama”
Copy > Paste As New Layer
Resize to 400x167
Place on left side making sure the top of her head meets the top of the banner
Duplicate > Mirror
Change blend mode to luminance at 25% for both
Now take the overlay I provided
Paste as new layer
Open RedSparkles
Copy > Paste as New Layer
Go back to the main layer
Select all > Selections > Modify> Select Selection Border
Using the following settings

Next make new raster layer
Flood fill black
Select none
Open BlackShoe
Resize by 50%
Move to lower left hand corner
Duplicate > Mirror
Now open frame1
Copy > Paste as new layer
Resize by 58%
Make sure frame is centered
Add your text
Add your credits
Add name
Now we are going to start the morphing animation.
Open “Masked Pain” and “Priceless Piece Of Art”
Now we are going to Paste as New Layer “Masked Pain” over “Priceless Piece Of Art”
Lower the opacity to 50% so you can match the tubes up properly.
Now we are going to crop out the parts we don’t need.

Use the following setting to resize

Now we want the dark haired girl to be the end of the animation so we will start with her on top. We are going to copy merged with her on top at 100% opacity.
You will do this in 10% increments until the top girl is at 0%
When you paste them into the banner they should go straight to the middle. All you have to do is make sure the frame is over them all.
Now we select the inside of the frame
This is what you should have. However, I havent added my text, credits, or name yet.

Now you are going to invert > delete for each tube layer of the morph
So you should end up with this

Select None
Now for animating.
Open AS
Starting with the top tube layer copy merged > paste as new animation
Close off top layer Copy Merged > Paste After Current Frame
Do this until all frames are pasted.
Remember to close off each frame as you do it!
One you have all frames posted Edit > Select All
Duplicate Selected
Go back and Select the 2nd set of frames (from the blonde girl to the end)
Animation > Reverse Frames
Animation > Frame Properties
Change to 20
View animation to make sure its how you want it.
I hope you enjoyed my tutorial!
Subscribe to:
Posts (Atom)
My Copyright Protection
