Thursday, January 19, 2012
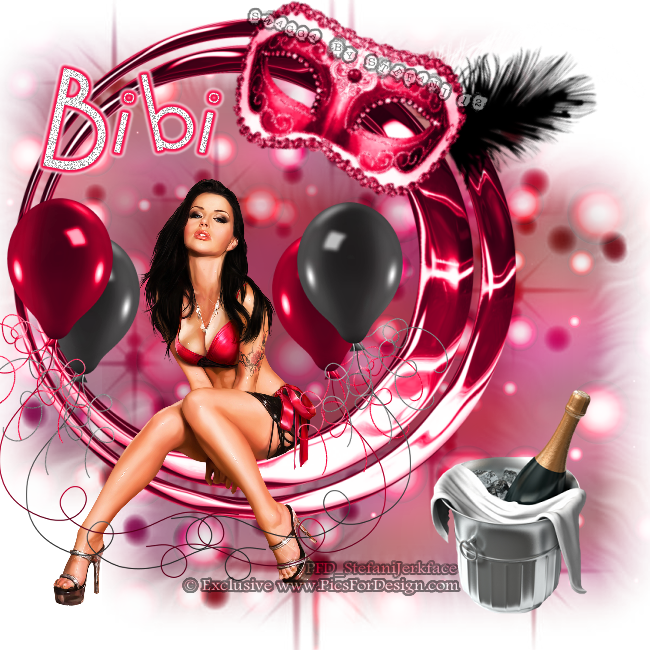
Party Girl PTU Tutorial
Tutorial written by ©Stephanie Spriggs aka Swagga By Stefani for use on http://swaggabystefani.blogspot.com. Any similarity to another tutorial is purely coincidental and unintentional. Please do NOT claim as your own. My tutorials are for personal use only, please do not use them for monetary gain. If you wish to share my tutorial please contact me at swaggabystefani@gmail.com first to obtain permission.
Supplies Needed
Melissa Exclusive VeryMany Tube Available at Pics For Design
PTU Happy 2012 Kit by Bibi’s Collection available at The PSP Project
Aqua’s Mask AR315_CMC_Mask145 available on Creative Misfits Creations
Cocktail Bubbly font available at dafont.com
Open 650x650
Open Paper (6)
Copy > Paste As New Layer
Layers > Load/Save Mask > Load Mask From Disk
Choose Mask > Load
Go To Group Layer
Right Click > Merge > Merge Group
Move To Upper Left
Duplicate And Move To Lower Right
Open (25)
Copy > Paste As New Layer
Position Top Left
Open Tube
Select Red Layer > Copy Merged > Paste As New Layer
Resize by 30%
Position So She Is Sitting On Frame
Open (1)
Copy > Paste As New Layer
Resize by 75%
Position Lower Right
Open (2) and (3)
Copy > Paste As New Layer
Resize Both By 75%
Position Black Balloon To Left Of Tube
Position Pink Balloon Slightly Above
Duplicate And Mirror Both
Position To Right Of Tube With Pink Balloon Under Black Balloon
Open (45)
Copy > Paste As New Layer
Image > Rotate > Free Rotate 45* Right
Place Top Right Corner
Add Credits
Add Name
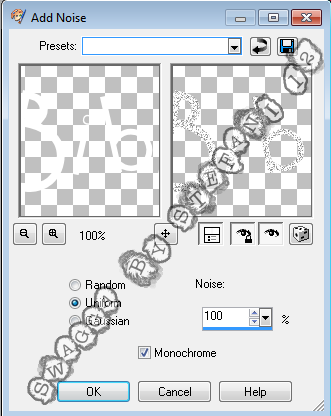
Adjust > Add/Remove Noise > Add Noise
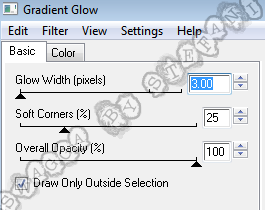
Add Pink Gradient Glow 2 Times With Following Settings
Add White Gradient Glow Once With Same Settings
Wednesday, January 18, 2012
Taking Back PSP
Hello all! I will be taking part in a wonderful event called Taking Back PSP.
What is Taking Back PSP? Well here is a description from there blog. You can visit their blog by clicking the graphic above.
"Taking Back PSP is a community event designed to bring taggers together for a fun evening, and at the same time raise funds for Pink Ribbon.org - an international organization focused on breast cancer research -- something that has affected each of us in one capacity or another.
Join us at the end of March, when we will hold a one time event, where attendees will have access to a TON of exclusive tubes, scrapkits, CU items --- and win door prizes including gift certificates, tubes, and other wonderful things.
Your event ticket will cost you a meer $10.00 - ALL of which will be donated to PinkRibbon.org."
There will be tons of exclusive items, awesome door prizes, and I will be contributing my first ever scrapkit! All of the items available at the event are completely exclusive to the even so you don't wanna miss out!
Sunday, January 15, 2012
Another Forum Set Show Off!
I made this today for a contest at Pimpin PSPers. If your not a member yet what are you waiting for? Lol
Anyways I was really proud of it so I decided I would post it on here to show it off. I used "Everybody's Fool" by Evanescence for my inspiration.
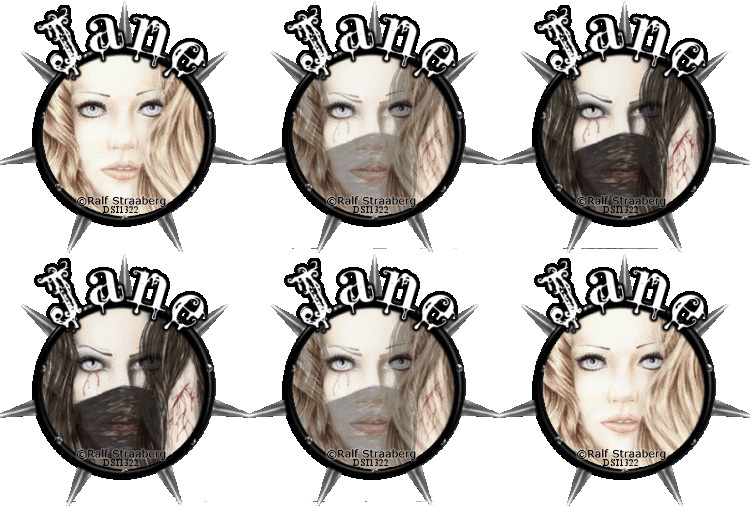

Anyways I was really proud of it so I decided I would post it on here to show it off. I used "Everybody's Fool" by Evanescence for my inspiration.


Saturday, January 14, 2012
Forum Set Show Off
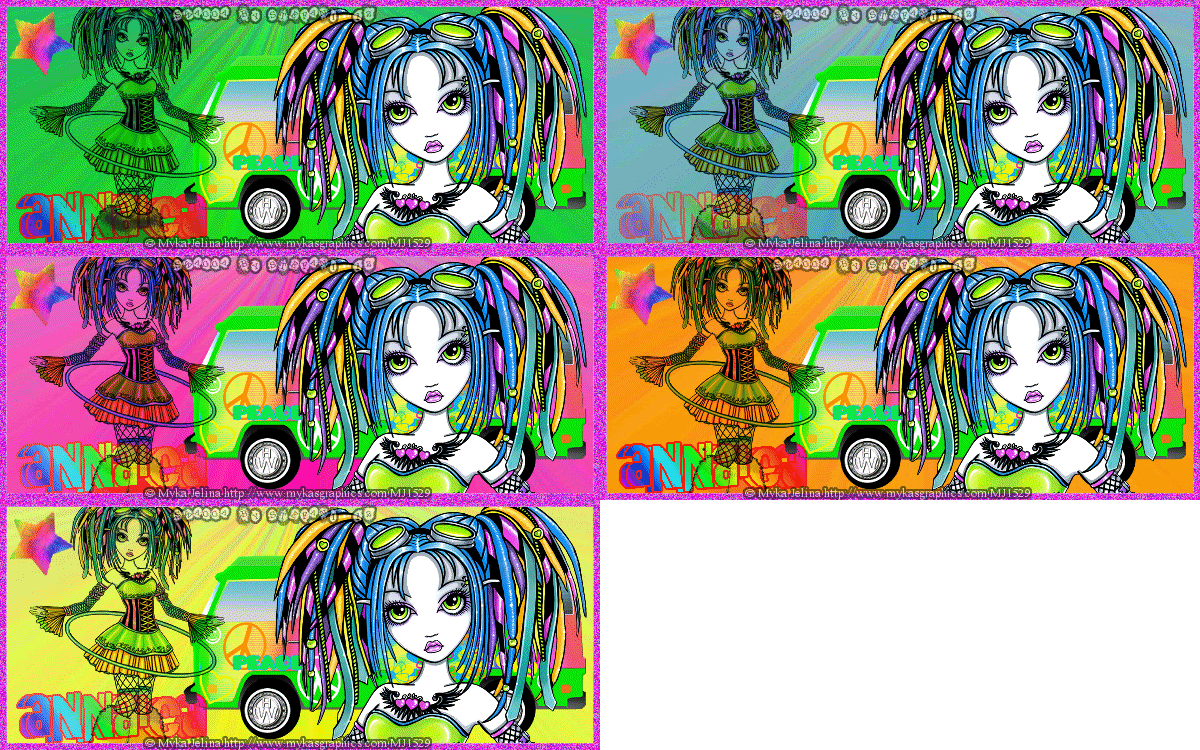
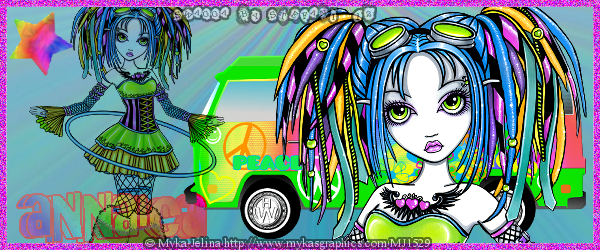
The lovely Annaica recently asked the members of her Creative Team to make her a forum set using one of her kits.
I used the Artwork of Myka Jelina available for purchase at her store Mykas Graphics
I also used Annaica's PTU kit Hippy Daze available on her blog Annaica's Place.
I did 2 banners because I wasn't sure how I felt about the animation lol.
I also made a few forum sets for a ladies in Pimpin PSPers. If your not a member already go check it out! It's an awesome Forum where you participate in challenges, earn points, and win awesome prizes. The members there are amazing!
For both sets I used the Artwork of Keith Garvey available at PTE. They are both done with no scraps. Both animations can be found at Aqua Rebel 315 Designs
The tube in the next set is no longer available
If you would like your own unique forum set by me just send me a message to swaggabystefani@gmail.com. Make sure your subject is Forum Set Request. I will fill all requests as quickly as life allows =D Be as specific as you would like to be in your request.
New Year Announcements
Hello everyone! I thank you for putting up with my all over the place tutorials. I hope they have come to use for you and are easily understandable. I just wanted to let everyone know they will be getting a lot better. I have started taking tutorial lessons through Winni's Challenge 2 Write Group. If you would like to see a complete list of what the Winni Groups offer you can visit this site. If you decide you are interested in any of the things they have to offer tell them Stefani sent you =D. I am also taking Pixel Art Lessons through a Winni Group and can not wait until I have some awesome pixel art to share with you all. New tutorials coming this weekend so keep an eye out.
On another note I will not be offering anymore snaggables or templates until I have reached 10 "Thank You" or "Snagged" comments on each. I am not doing this to be cruel, however I do put a lot of time and effort into making goodies for you all and if I can not get a simple Thank You then I don't really see the point in continuing it. I have tons of things I would like to bring to this blog but without the support of my fans I feel I have no reason to waste my time. So if you enjoy something I have done, want to request something for me to do, or just want to continue receiving goodies then please just leave a little comment letting me know.
Thank you all!
Monday, January 9, 2012
My First Snaggable Set!
A group I am in held a contest where we had to make an "I Voted" Snag. Well I liked mine so much I decided to make a set. There are 4. Feel free to snag but make sure you leave a Thank You if you do =D
Sunday, January 8, 2012
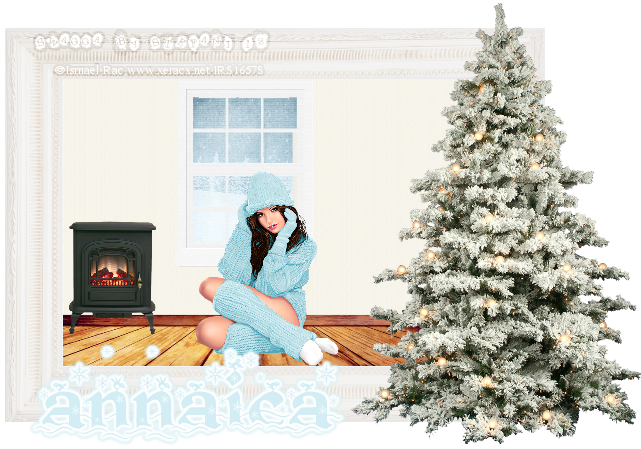
PTU A Winter Wish Tutorial
Tutorial written 1/8/12 using Paint Shop Pro 9 . Any similarity to another tutorial is purely coincidental. Please do NOT claim as your own. My tutorials are for personal use only, please do not use them for monetary gain. If you use my tutorials in your group please link back to my blog and leave a comment saying you are using it.
Supplies Needed
Ismael Rac tube Warm Winter available here
PTU Kit A Winter Wish by Annaica available here
Eye Candy 4000 Gradient Glow
Kingthing Christmas 2 Font available here
Open Tube
New Image 650x650
Open Element 73
Copy > Paste as New Layer
Position towards top of canvas
Open Element 19
Copy > Paste as New Layer
Resize by 50%
Position to right side of frame.
Selections > Invert
Use magic wand to select inside of frame
Open Paper 10
Copy > Paste Into Selection
Select None
Open Element 50
Copy > Paste as New Layer
Resize by 25%
Position inside frame to left.
Open Element 74
Copy > Paste as New Layer
Resize by 25%
Magic Wand select each square of element
Select frame layer > Delete
Open Paper 2
Copy > Paste Into Selection
Select None
Copy tube > Paste as New Layer
Resize by 35%
Image > Mirror
Position in front of window
Crop around outside of frame and tree
Add Credits
Add Name
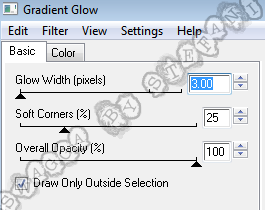
Add white gradient glow at following settings twice
Add gradient glow color of font once.
Sunday, January 1, 2012
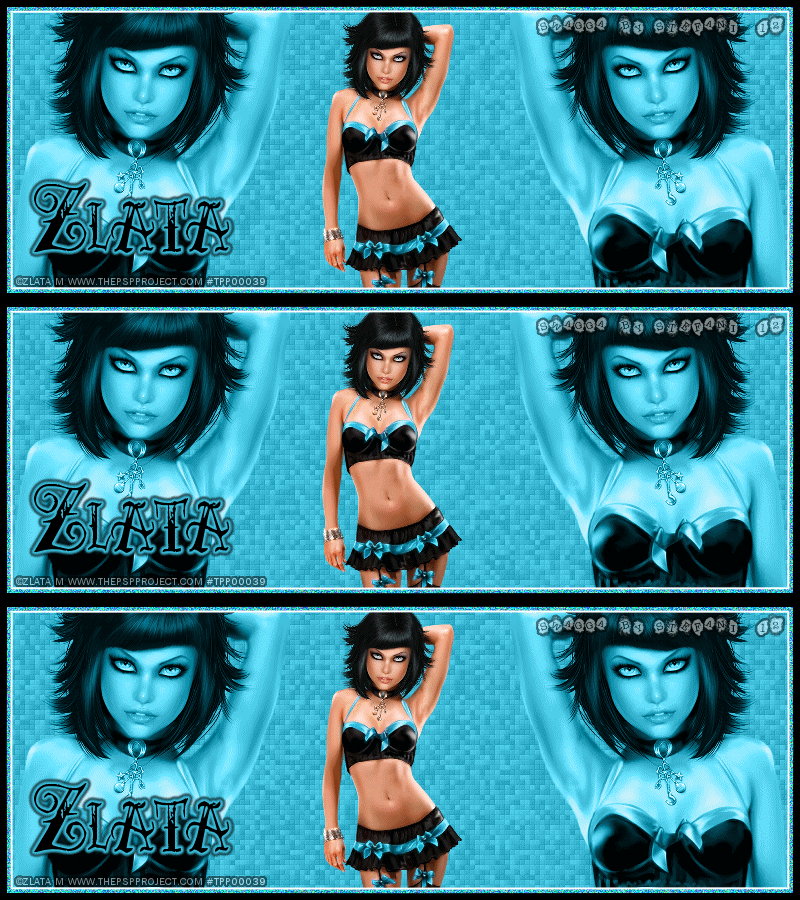
EmoStyle Animated No Scraps Tutorial
Tutorial written 1/1/12 using Paint Shop Pro 9 and Animation Shop 3. Any similarity to another tutorial is purely coincidental. Please do NOT claim as your own. My tutorials are for personal use only, please do not use them for monetary gain. If you use my tutorials in your group please link back to my blog and leave a comment saying you are using it.
Supplies Needed
Zlata_M’s EMOstyLe tube available at The PSP Project
Eye Candy 4000 Gradient Glow
Xero Fritillary available here
Pauls Esther Font available here
Open Tube
New Image 800x300
Flood fill New Image with #3ab9d5
Duplicate x2
Rename layers 1,2, and 3
Select 1
Effects > Xero > Fritillary
5,30,10,15
Select 2
Effects > Xero > Fritillary
5,30,10,16
Select 3
Effects > Xero > Fritillary
5,20,10,17
Copy Close Up layer of tube
Paste as New Layer
Resize by 50%
Position to far left
Set layer properties to Luminance Legacy 100% Opacity
Duplicate
Image > Mirror
Copy Tube
Paste as New Layer
Resize by 40%
Position in middle
New Raster Layer name it Border
Make sure its top layer
Select All
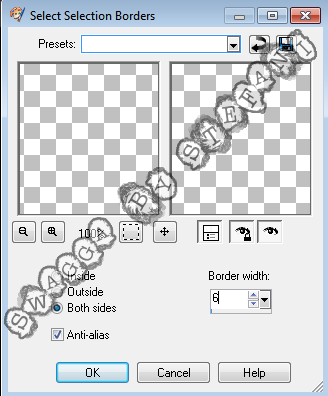
Selections > Modify > Select Selection Borders with following settings
Flood fill with black
New Raster Layer name it Border 2
Select > Modify > Expand by 4
Flood fill with #3ab9d5
New Raster Layer name is Border 3
Selections > Modify > Expand by 2
Flood fill with white.
Select none
On Border 2
Adjust > Add noise > Uniform 75% Monochrome unchecked
Add Credits
Add Name
Add Gradient Glow in #3ab9d5 2 times with the following settings
Gradient Glow in black once with same settings
If using for Facebook Cover or want unanimated STOP here.
For animation continue.
Open Animation Shop.
In PSP hide layers 2 and 3
Copy merged layer 1
Paste as new animation in AS
Back in PSP reshow layer 2
Copy merged
Paste after current frame
Reshow layer 3
Paste after current frame
Edit > Select All
Animation > Frame Properties
Change to 25
Subscribe to:
Posts (Atom)


